Minecraft is very popular among kids now
- Kids exchange IP addresses to be able to collaborate together
Educational resources using Minecraft as a teaching tool (ie. able to explore city of Florence).
Presentation from Heidi James & her students: grade 7 teacher at Colquitz Middle School
- Had students request through the principal to bring a Minecraft server into the school ($5000)
- Have kids of all ages come to the computer lab to be able to share in the Minecraft EDU (kids from other schools come to use the Minecraft EDU server)
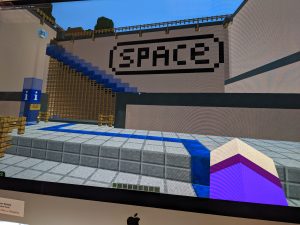
Classroom Minecraft EDU experience:
- all students log into the same learning world which brings all students into a Tutorial World. It guides you through a step by step world of building on new skills as you go.
- After learning all the basic movement skills (like using the mouse as your eyes)

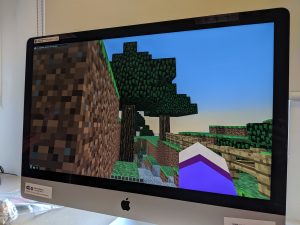
- Once all students have worked their way through the entire tutorial world, they are placed into a real world where they can put their learned skills to use.

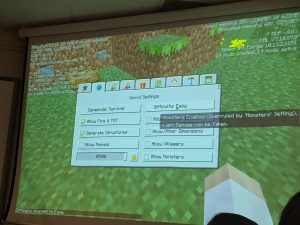
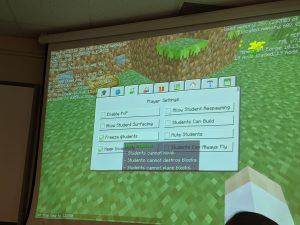
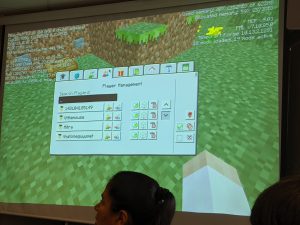
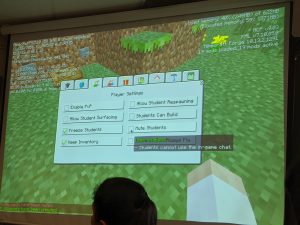
- Teachers are able to control all aspects of the game, such as pausing all students, muting their chat (if spamming or being innapropriate), choosing what they encounter in their worlds (survival mode, creative mode, monsters, nighttime, etc)
How Minecraft EDU connects to core competencies:
Communication – within the game (chat), as well as lots of communication within the classroom. Students help eachother through the game, and must communicate to help with crafting recipes.
Problem Solving – working with their team to solve problems together. Leaders can give hints to help groups solve the problems they encounter without giving away all the details.
- ie. for crafting, instead of just giving people the crafting recipes, you provide them with what products they needs, but not the amounts or how to get them, so there is still the self-exploration aspect and learning that takes place.
Collaboration/Cooperation – Because all students are placed into the same world, must work together to ensure the world runs smoothly. For example, to be able to sleep and avoid the monsters at night, all students must build beds, and all must sleep at the same time.
How the kids have learned from Minecraft EDU:
- The class struggled with building a sense of community, but the game helped with this immensely. If you didn’t work together, you wouldn’t be able to progress.
- They learned a lot of agriculture through it (you need food to survive, so have to get seeds, then have to tend to the seeds. Need to know how to tend to animals – have to have a fence around your animals or they escape)
- For school, everyone had to have a bed and be asleep for even 1 person to be able to sleep — going back to cooperation
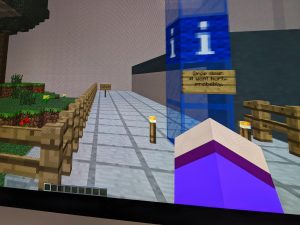
- For grade 7 math have to teach the x,y coordinate grid. In Minecraft, you get the opportunity use a 3D x,y coordinate grid within the game.
- Not only incorporated social studies core competencies, but also math
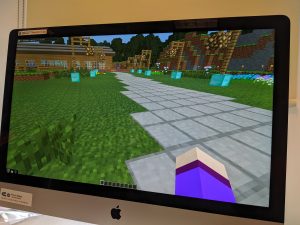
 (3D x,y coordinates in top left corner)
Example of a Minecraft EDU Project: Ancient Egyptian Civilizations – 5 week project, 2-3 hours/week
-
- Split into groups, and assigned leaders to each group to act as the Pharaohs of the civilizations.
- Teacher assigned very few resources just to the Pharaohs (a small amount of food, and 1 weapon), and the rest of the group had to survive with no resources at all. Pharaohs were in charge of deciding how to split up resources that would benefit the entire civilization most.
- All groups went to different locations to build their civilizations, and matched real world experiences with the experiences they would encounter in the game. For example, being killed by zombies was representative of being murdered by another human in the Ancient Egyptian civilization.

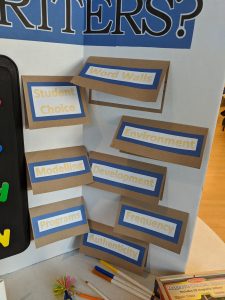 Flaps! Great way to make a presentation board more engaging.
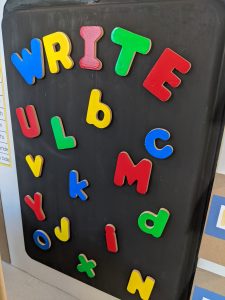 Magnets! I painted an old baking sheet, and used it as a magnet board to show other ways to engage learners in writing.
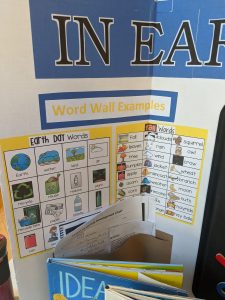 More cutting and pasting..
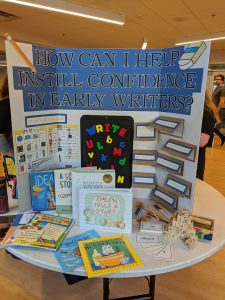 The whole setup!


Recent Comments